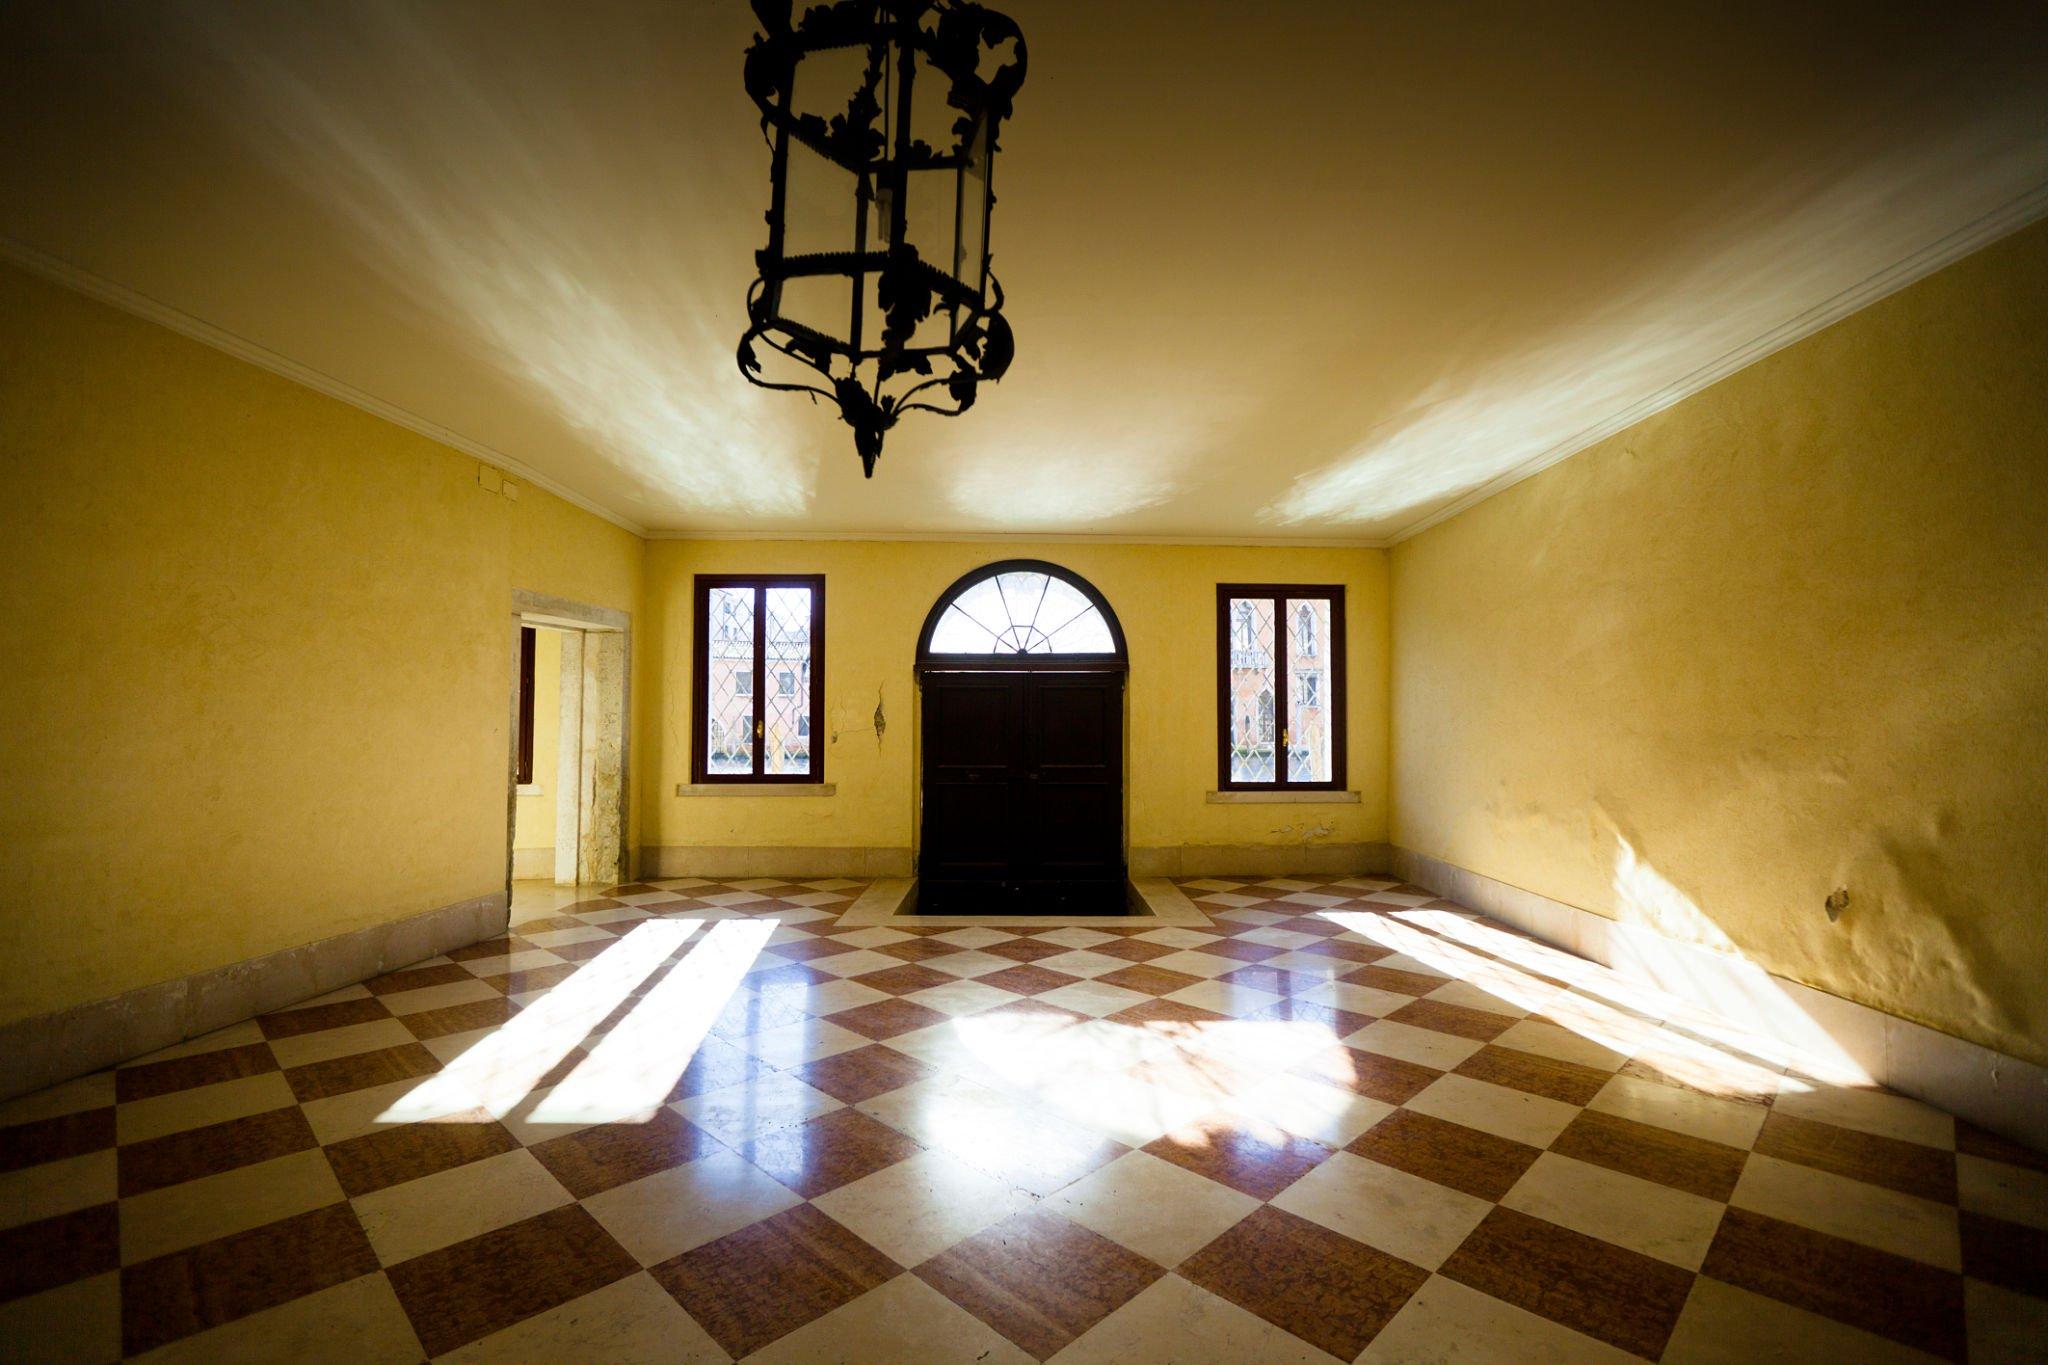
Venetian plaster has been traditionally used for centuries for building purposes. It is also a popular decorative painting technique, widely used in the modern days, to compliment your interior design with an old-world look and contemporary design. It gives an aesthetic and luxurious effect to your walls and ceilings.

What is Venetian Plaster?
Venetian plaster, also known as marble plaster, is made of lime putty and marble dust which give a highly polished and marble-like finish to your interior walls and ceilings.
It is a simple, quick, and unique way to renovate your rooms with an elegant texture and design. You can use Venetian plaster in your hallways, living rooms, and bathrooms to create a natural and accent wall.
Generally, traditional Venetian plaster is only suitable for interiors but some modern upgraded variants of Venetian plasters are also used for exterior applications.
Plastering is a do-it-yourself project. For this, you need to buy Venetian plaster materials and professional tools like trowels, gloves, and goggles for your safety.
How to apply Venetian plaster on your walls?
With a better knowledge of Venetian plaster and high-quality materials, you can precisely work to get antique architectural styles and adorning surfaces.
Here are stepwise processes for applying Venetian plaster on your walls.
1. Clean the walls
Before applying the plaster, you must prepare the wall surface by cleaning and repairing it to make it smooth. Remove dust, dirt, and any structural irregularities or cracks
2. Prepare the paste
Mix and stir the Venetian plaster and the dye to achieve the desired texture and color.
3. Apply the first coat
Use a trowel and rollers to evenly apply the first and thin layer of Venetian plaster.
4. Apply the second and third coat
After the first coat, you must leave the walls to dry completely. Later, use a spatula or sandpaper to remove the burrs and dust from the walls to get smooth and even surfaces.
Then repeat the coating process to apply a second layer of Venetian plaster coat. When the second coat dries out, proceed to apply the third and final coat.
Read also: Cleaning tips for towels at home
5. Polishing the walls
This is your last step. Apply a layer of wax and polish it to achieve a marble-like effect.
You can apply several coatings of Venetian plaster to get the desired glossy finish and texture.
Also, you can use various coloring dyes and insulating painting materials to get the required visual effects and beneficial characteristics.
What are the features of Venetian plaster?
Venetian plaster contains lime and less harmful chemicals, which makes it hypoallergenic and mold-resistant.
Check out below to find the main features of Venetian plaster –
- It makes your walls and ceilings humid-resistant to prevent dampness. Its waterproof feature also makes them naturally breathable.
- It contains natural components to add non-toxic, mold-resistant, and anti-bacterial properties to it.
- Cleaning and maintaining the Venetian plaster walls and ceilings are very easy.
- With a better coating, your Venetian plaster can last longer due to its high durability aspects.
- It has highly decorative values.
Venetian plaster is a great option to paint your residential and commercial walls and ceilings with varieties of designs and finish options.