As one of the most sought-after bathroom features, walk-in showers offer a luxurious bathing experience while adding a touch of modern elegance to any space.
Whether you’re renovating an existing bathroom or building a new home, in this comprehensive guide we’ll delve into the intricacies of walk-in shower installation, covering everything from design considerations and layout options to construction techniques and maintenance tips according to top-rated bath and shower installers. Read on!

1. Design Considerations
Before diving into the installation process, it’s crucial to carefully consider the design of your walk-in shower. Assess your available space, taking into account factors such as room layout, plumbing locations, and existing fixtures.
Determine the desired size and shape of your shower enclosure, as well as any additional features you wish to incorporate, such as built-in seating, storage niches, or decorative tile accents.
Pay attention to the overall aesthetic of your bathroom and choose materials, colors, and finishes that complement your existing decor and reflect your personal style.
Read also: Lawn Care 101: Essential Techniques for a Beautiful Lawn
2. Layout Options
Walk-in showers come in a variety of configurations to suit different preferences and spatial constraints. Common layout options include corner showers, alcove showers, and standalone showers.
Take into account the size and shape of your bathroom, as well as the location of existing plumbing lines and fixtures, when selecting the optimal layout for your walk-in shower.
Evaluate potential obstacles such as windows, doors, and structural elements, and determine the most efficient placement for your shower enclosure to maximize space and functionality.
3. Construction Techniques
The construction of a walk-in shower involves several key steps, including framing, waterproofing, and tiling. Begin by framing the shower enclosure using moisture-resistant materials such as treated lumber or cement board.
Install a waterproof membrane or vapor barrier to protect surrounding walls and floors from moisture damage. Choose high-quality waterproofing products and ensure proper installation to prevent leaks and water infiltration.
Finally, tile the shower walls and floor using durable, water-resistant materials such as ceramic, porcelain, or natural stone, paying careful attention to proper slope and drainage to ensure efficient water runoff.
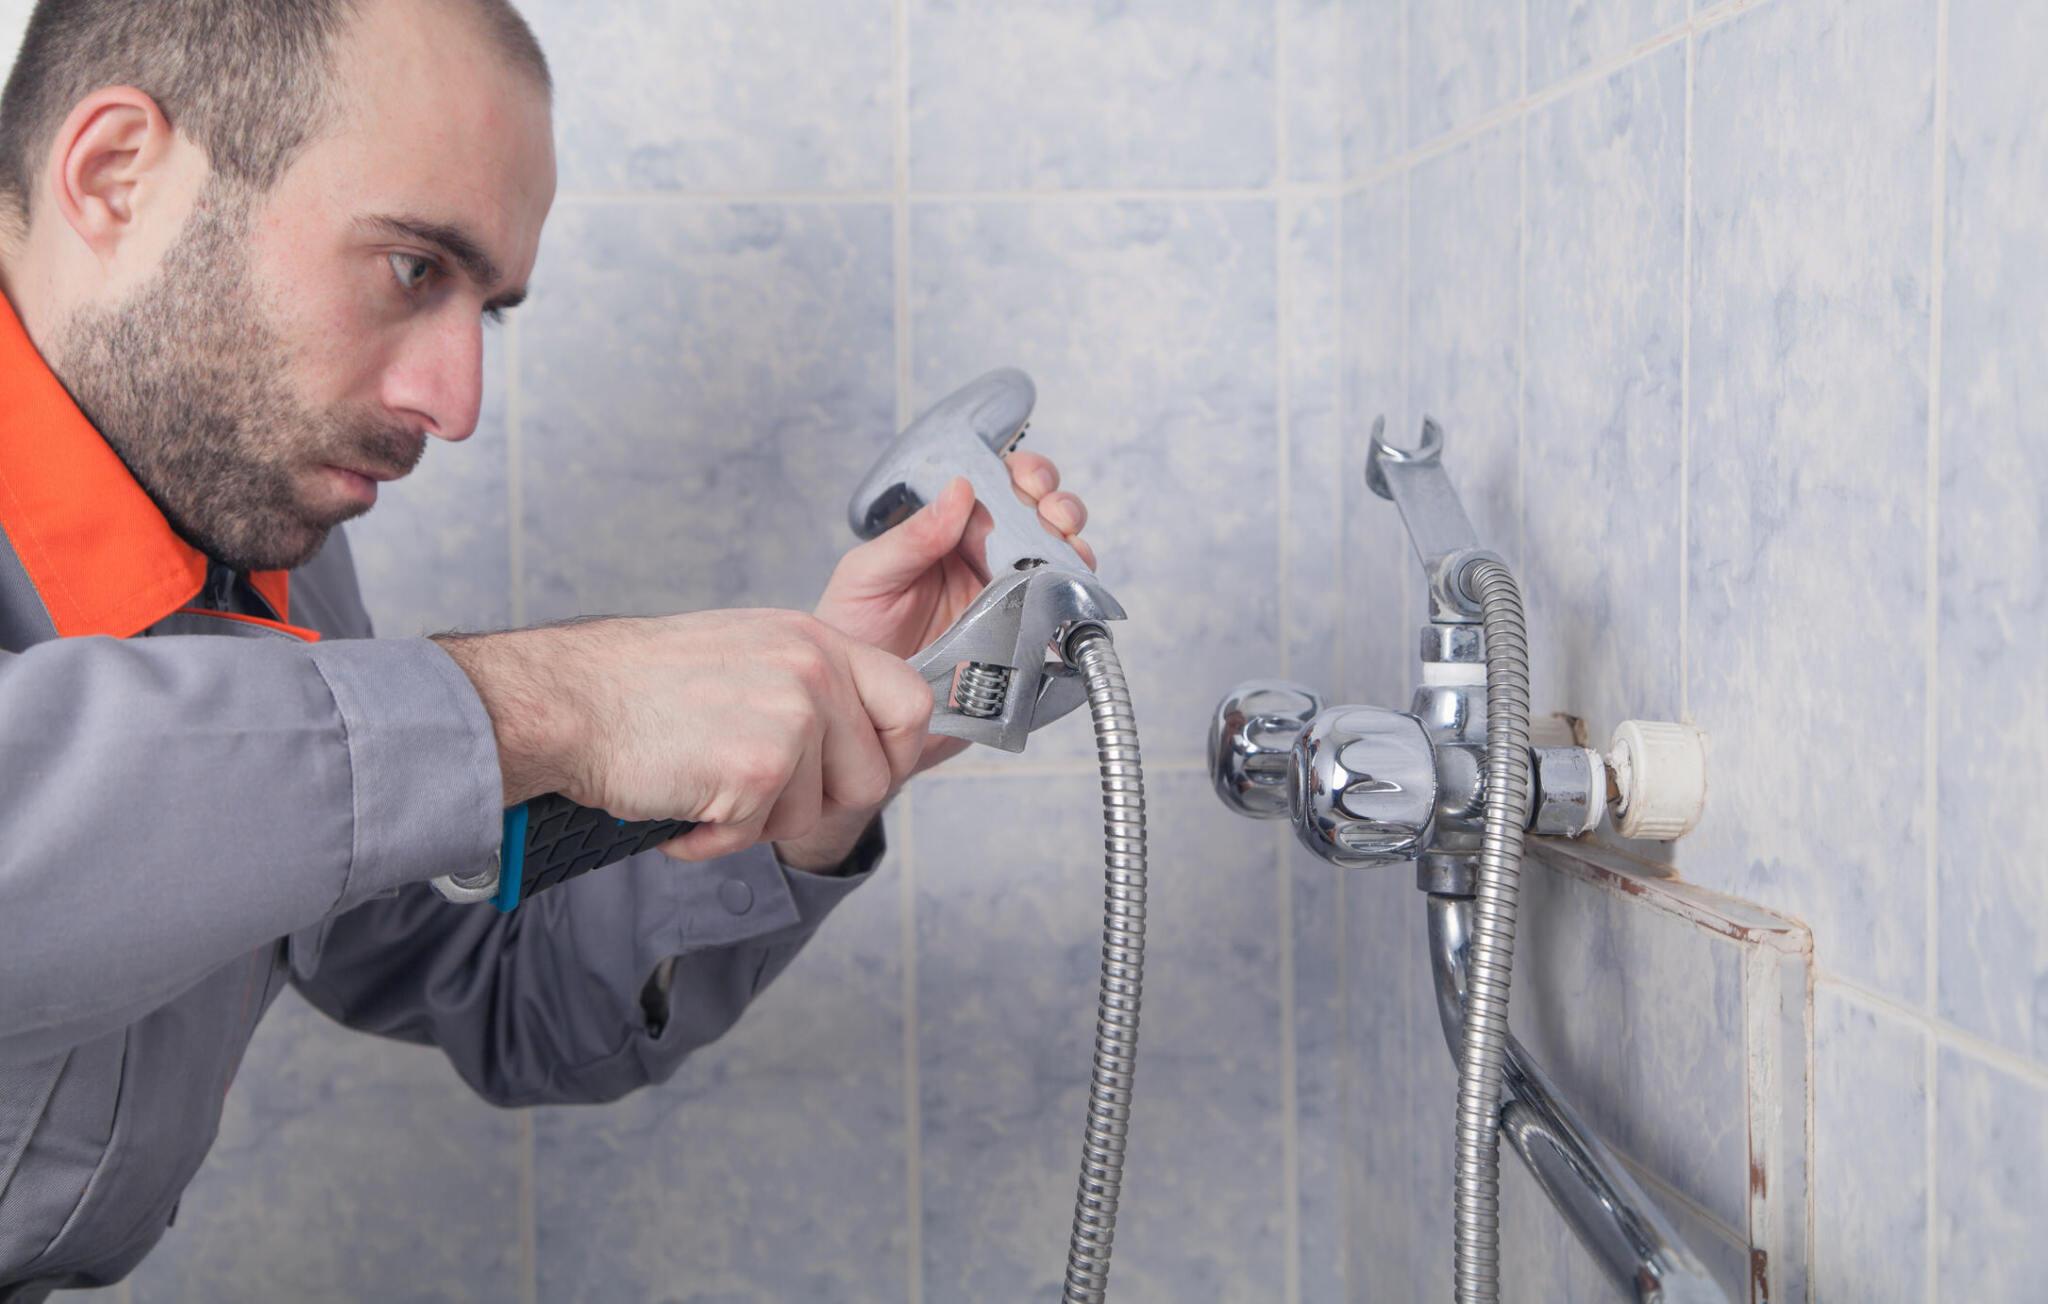
4. Fixture Installation
Once the structural and waterproofing elements are in place, it’s time to install the fixtures and accessories that will complete your walk-in shower. Choose high-quality plumbing fixtures such as showerheads, faucets, and controls that offer both style and functionality.
Consider options such as rain showerheads, handheld sprayers, and body jets to customize your bathing experience. Install shelves, niches, or benches for added convenience and storage, and ensure proper placement to accommodate your daily routine.

5. Maintenance and Care
Proper maintenance is essential to ensure the longevity and performance of your walk-in shower. Regularly clean and inspect the shower enclosure, including tiles, grout lines, and fixtures, to prevent mold, mildew, and soap scum buildup.
Use mild, non-abrasive cleaners and avoid harsh chemicals that can damage surfaces or degrade waterproofing materials. Address any leaks or plumbing issues promptly to prevent water damage and maintain the integrity of your shower enclosure.
With proper care and maintenance, your walk-in shower will remain a beautiful and functional centerpiece of your bathroom for years to come.